
How to Sharpen Clipper Blades at Home: Professional Step-by-Step Guide for Barbers & Groomers
Learn how to sharpen clipper blades at home with this professional step-by-step guide. Covers honing stone grit selection (400–3000), flat lapping technique, sharpness testing, and a full cost comparison of DIY vs pro service vs blade replacement.
Knowing how to sharpen clipper blades is one of the most valuable maintenance skills a professional barber or groomer can develop. A dull blade does not just cut poorly — it pulls hair, overheats, stresses your clipper motor, and leaves clients (human or animal) uncomfortable. Yet many professionals throw away blades that still have 60–70% of their useful life remaining, simply because they never learned to sharpen them properly.
This guide walks you through every step of clipper blade sharpening at home, from choosing the right honing stone grit to testing your edge before putting the blade back into service. Whether you are a barber running a busy shop, a pet groomer handling 8+ dogs per day, or a home user looking to extend your blade investment, these techniques will save you real money.
Already familiar with sharpening basics? Jump to our cost comparison: service vs DIY vs replacement for the financial breakdown, or see our original sharpening methods overview for the flat-lapping technique used by professional sharpening services.
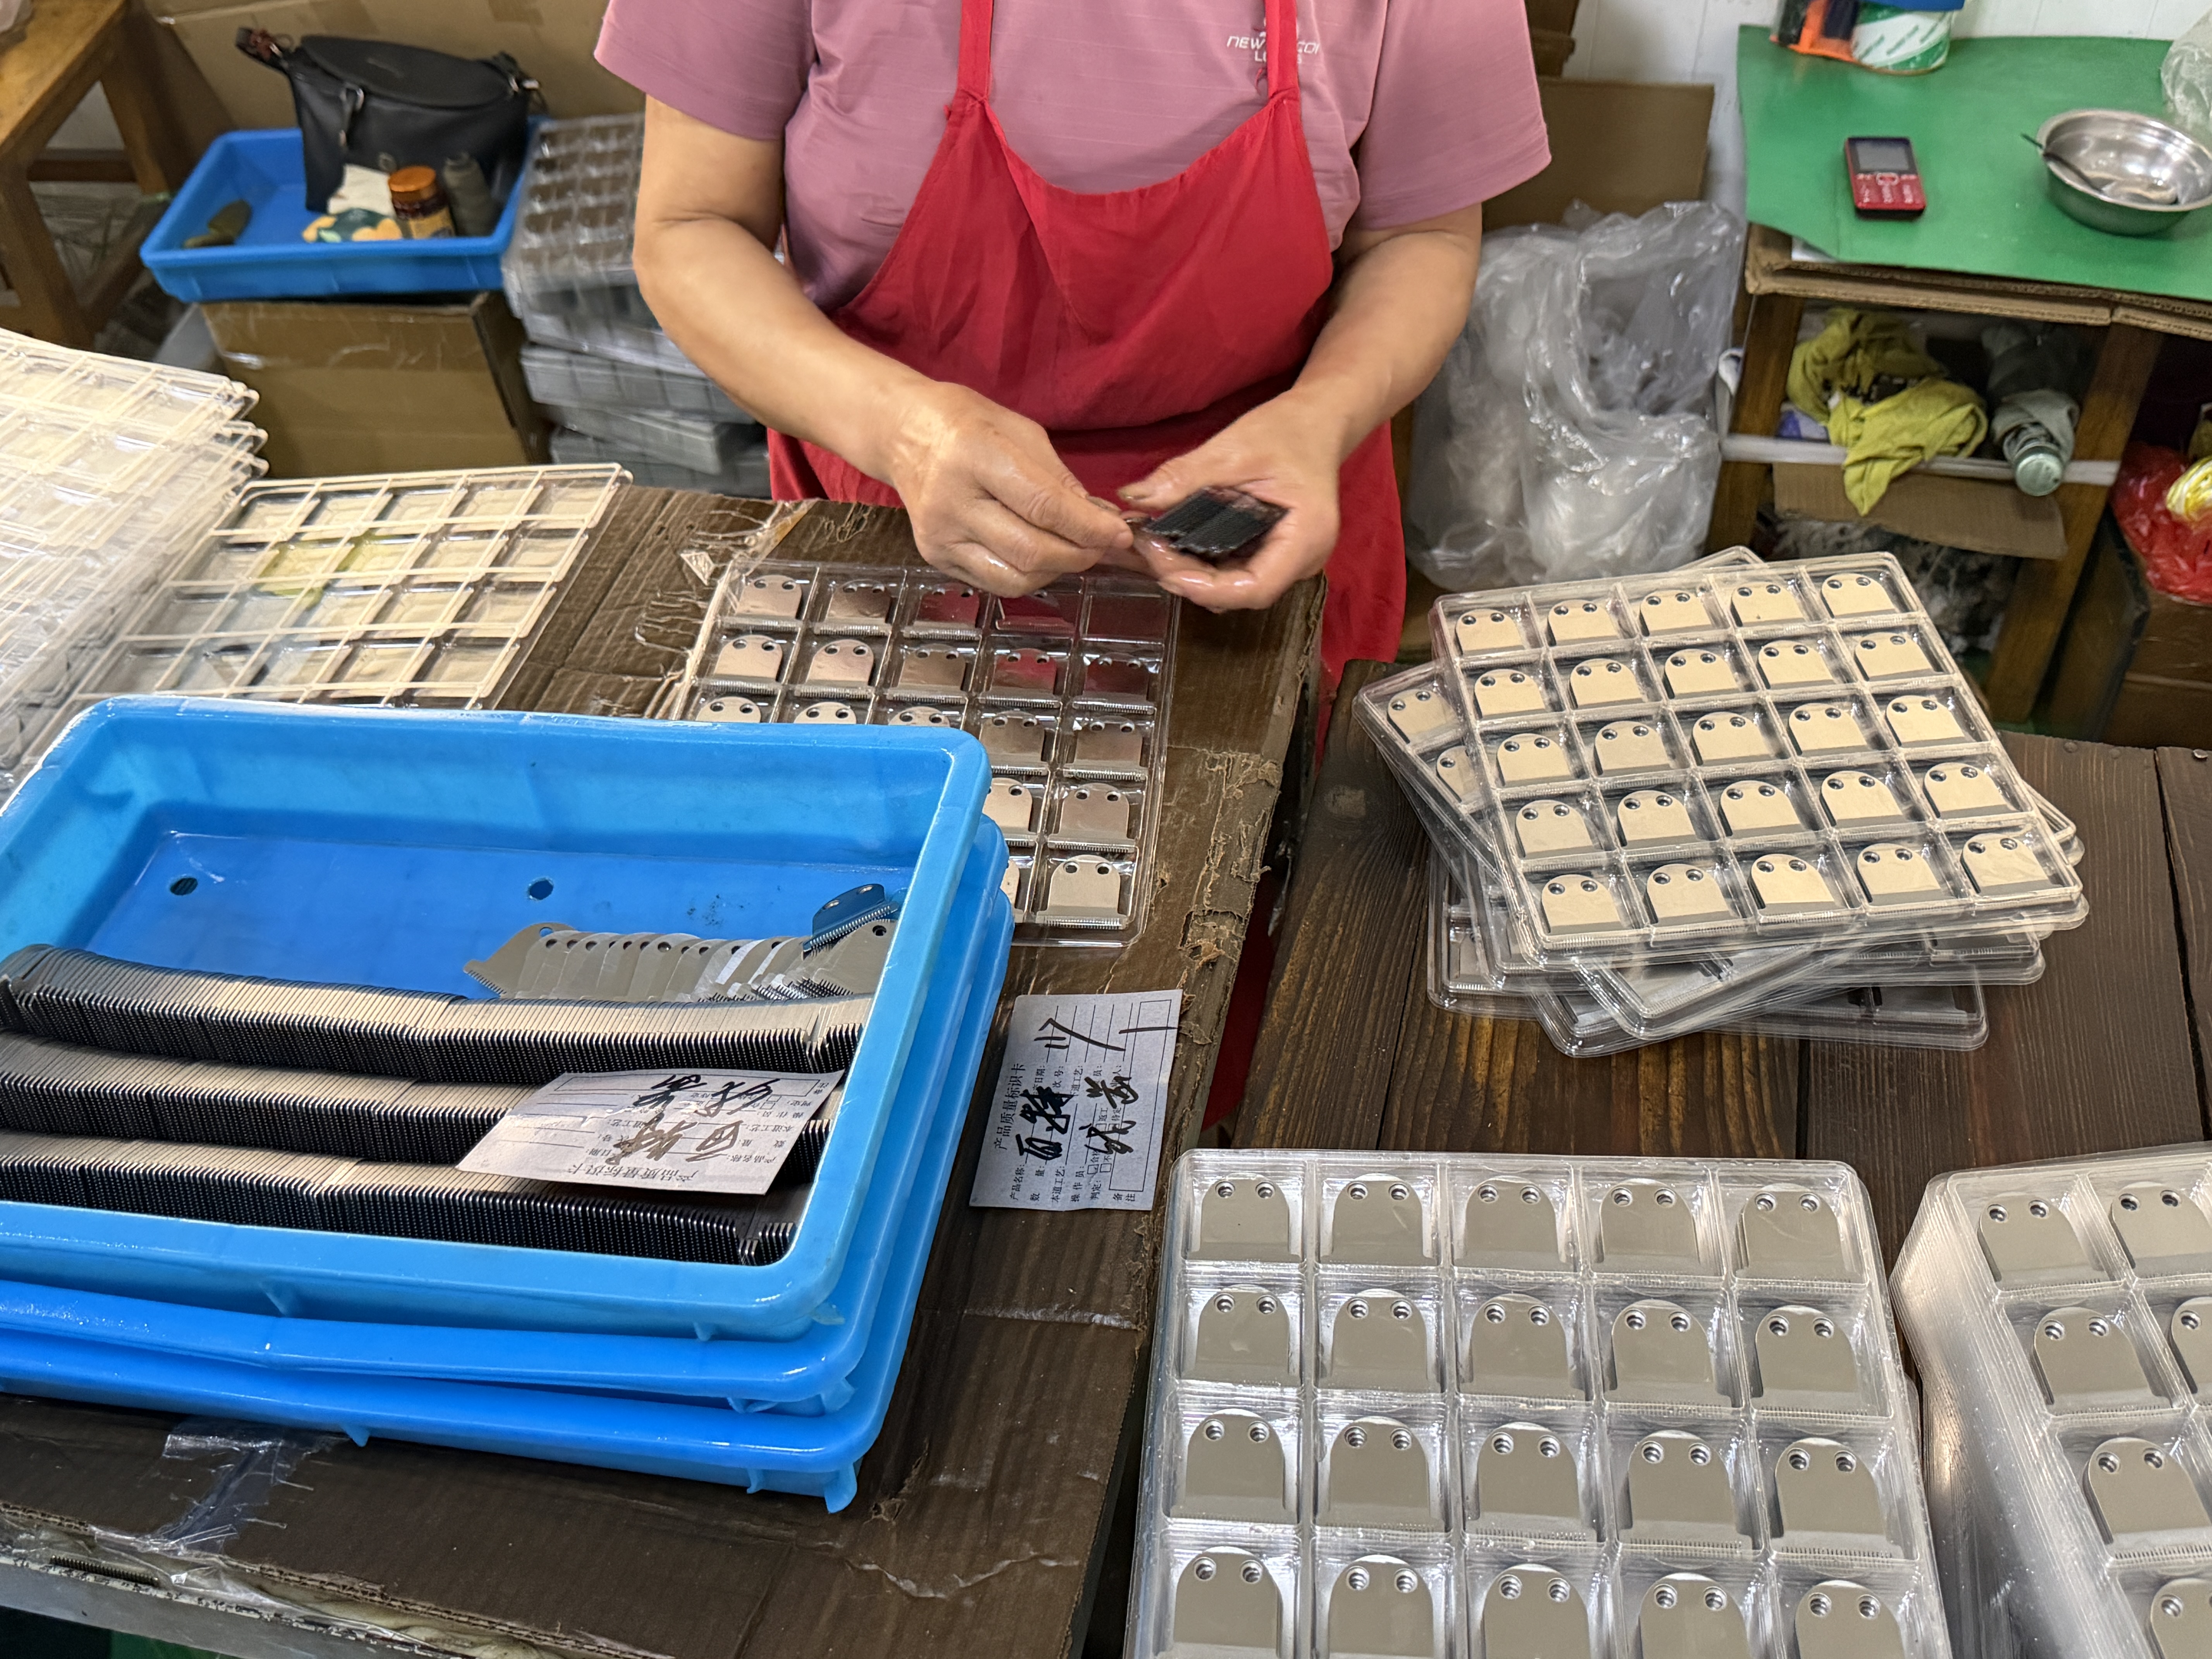
Before You Sharpen: Rule Out Other Problems
Approximately 30% of blades that seem dull are actually just dirty, dry, or misaligned. Before you reach for a sharpening stone, run through this quick diagnostic:
- Clean the blade. Remove all hair debris with a stiff brush. Submerge the blade in blade wash solution for 30 seconds, then air dry completely.
- Oil the blade. Apply 2–3 drops of clipper blade oil across the teeth and along the guide rail. Run the clipper for 10 seconds to distribute.
- Check alignment. The cutting blade (top/moving) should sit 1/32" to 1/16" (0.8–1.5mm) behind the stationary blade (bottom/comb). Misaligned blades snag hair even when sharp. See our blade alignment guide for adjustment instructions.
- Test again. If the blade now cuts cleanly, it was not dull — it was neglected. Regular cleaning and oiling prevent 80% of performance complaints.
What You Need: Complete Tool Checklist
Here is everything you need for home clipper blade sharpening, organized by method:
| Item | Purpose | Approx. Cost |
|---|---|---|
| Combination whetstone (1000/3000 grit) | Primary sharpening + polishing | $15 – $30 |
| Coarse stone (400 grit) — optional | Restoring very dull or nicked blades | $8 – $15 |
| Screwdriver (Phillips #1 or #2) | Blade disassembly | $3 – $5 |
| Blade wash / cleaning solution | Pre-sharpening degreasing | $6 – $12 |
| Clipper blade oil | Post-sharpening lubrication | $5 – $8 |
| Stiff brush (old toothbrush works) | Removing hair and debris | $0 – $2 |
| Lint-free cloth or microfiber towel | Wiping and drying | $2 – $5 |
| Magnifying loupe (10x) — optional | Inspecting tooth edges | $5 – $12 |
Total startup cost: $25–$55 for the essential items. This one-time investment pays for itself after sharpening just 3–5 blades compared to professional service fees of $5–15 per blade.
Understanding Honing Stone Grits
Grit number indicates abrasive coarseness. Lower numbers remove more metal faster; higher numbers produce a finer, sharper edge. Here is how each grit fits into clipper blade sharpening:
| Grit | Classification | When to Use | Strokes |
|---|---|---|---|
| 400 | Coarse | Heavily dull blades, visible nicks, rounding | 8 – 12 |
| 1000 | Medium | Standard sharpening — most blades start here | 10 – 15 |
| 3000 | Fine | Polishing and finishing the edge | 15 – 20 |
| 4000 – 8000 | Ultra-fine | Mirror-polishing for maximum sharpness | 10 – 15 |
Step-by-Step: How to Sharpen Clipper Blades with a Honing Stone
Step 1 — Prepare the Stone
Submerge your whetstone in clean water for 10–15 minutes before use. The stone must be fully saturated — dry honing creates excessive friction and an uneven edge. Place the stone on a non-slip base (a damp towel on a flat counter works well).
Step 2 — Disassemble the Blade
Unscrew the two Phillips screws holding the blade assembly. Carefully separate the cutter (top/moving blade) from the comb (bottom/stationary blade). Note the blade spring position and tension — you will need to replicate this during reassembly. Keep the screws in a small container so they do not roll away.
Step 3 — Clean Both Blades Thoroughly
Use a stiff brush to remove all visible hair and debris. Submerge both blades in blade wash or isopropyl alcohol for 30 seconds. Dry completely with a lint-free cloth. Any remaining oil or residue will prevent the stone from cutting evenly.
Step 4 — Sharpen the Comb (Stationary Blade)
The comb does the heavy lifting in hair cutting — its teeth guide and hold hair while the cutter slides across them. Start with the 1000-grit side of your stone:
- Hold the comb with the flat cutting surface facing down against the stone. The teeth should point away from you.
- Apply light, even pressure — approximately 1.5 pounds (the weight of a small book). Too much pressure grinds unevenly.
- Push the blade away from you in smooth, straight strokes. Lift and return to the starting position — do not drag back.
- Complete 10–12 forward strokes on 1000-grit.
- Flip the stone to 3000-grit and repeat with 15–20 strokes to polish the edge.
- Rinse the blade under running water and dry.
Step 5 — Sharpen the Cutter (Moving Blade)
The cutter has a flatter profile than the comb. Repeat the same process:
- Lay the cutter flat on the 1000-grit stone, cutting edge down.
- Maintain full contact across the entire cutting surface — do not tilt or rock the blade.
- 10 forward strokes on 1000-grit, then 15 strokes on 3000-grit.
- The cutter typically needs less material removal than the comb because it wears more evenly.
Step 6 — Remove Burrs
After sharpening, tiny metal burrs form along the cutting edge. These cause snagging if not removed:
- Run each blade lightly across the 3000-grit stone at a very slight angle (approximately 5 degrees off flat) for 3–5 gentle strokes.
- Alternatively, draw the edge across a folded piece of leather or denim — this is called stropping and it polishes away remaining burrs.
Step 7 — Reassemble and Align
Place the cutter back on the comb with the spring in its original position. The top blade (cutter) should sit 1/32" to 1/16" (0.8–1.5mm) behind the bottom blade (comb) — never flush or protruding past the comb teeth, which causes skin cuts. Tighten the screws evenly (alternating between them to maintain alignment).
Step 8 — Oil and Test
Apply 2–3 drops of clipper blade oil across the teeth. Run the clipper for 10 seconds to distribute oil. Then test sharpness using the methods below.

How to Test Blade Sharpness
Never put a blade back into service without testing first. Use at least two of these methods:
- Tissue paper test: Hold a single sheet of tissue paper taut and press the running blade against the edge. A sharp blade slices through cleanly; a dull blade tears or pushes the paper aside.
- Visual inspection: Under magnification (10x loupe), sharp tooth tips appear as thin, bright lines. Dull teeth look rounded and gray. If you see uneven brightness across teeth, the blade needs more strokes on the dull sections.
- Hair test: Run the blade through a small section of clean, dry hair. It should cut in a single pass without pulling, tugging, or requiring extra pressure.
- Heat test: Run the clipper on air for 2 minutes. The blade should be warm but not hot. Excessive heat after sharpening indicates remaining dull spots or improper blade tension — readjust and test again.
For Badly Damaged Blades: The 3-Grit Progression
If your blade has visible nicks, rounded teeth, or has not been sharpened in 6+ months of heavy use, the standard 2-grit method may not be enough. Use a 3-grit progression:
- 400-grit (coarse): 8–12 strokes to remove damaged material and re-establish the cutting geometry. Check progress after every 4 strokes — stop as soon as tooth tips look uniform.
- 1000-grit (medium): 10–15 strokes to refine the edge left by the coarse stone. This removes the scratch marks from 400-grit and creates a usable cutting edge.
- 3000-grit (fine): 15–20 strokes to polish. This final step makes the difference between a blade that cuts and a blade that glides.
Warning: The 400-grit stone removes metal aggressively. Use it sparingly. Excessive use shortens blade lifespan — each coarse-grit session costs the blade one sharpening cycle from its total life.
5 Common Sharpening Mistakes (and How to Avoid Them)
- Using too much pressure. Heavy pressure causes uneven grinding, removes excess material, and can warp thin blades. Let the stone do the work — 1.5 pounds of force is enough.
- Rocking or tilting the blade. The blade must remain perfectly flat against the stone. Any tilt rounds the cutting edge instead of sharpening it. If you struggle with angle control, consider a blade holder or guide ($30–$60).
- Skipping the cleaning step. Hair debris and old oil clog the stone pores and prevent even abrasion. Always clean before sharpening.
- Starting with too-coarse grit. A blade that just needs a touch-up only requires 3000-grit. Starting at 400 removes material you did not need to lose. Always start with the finest grit that solves the problem.
- Forgetting to remove burrs. Metal burrs left after sharpening catch on hair and cause the same pulling sensation as a dull blade. Always finish with a deburring pass or strop.
Special Case: Sharpening Ceramic Clipper Blades
Ceramic blades (zirconia, Mohs hardness 8.2) cannot be sharpened with standard whetstones — only diamond-grit tools will cut ceramic. If your ceramic moving blade has dulled:
- Minor dulling: A diamond honing plate (600–1200 grit) with 5–8 light strokes can restore the edge. Costs $20–$40 for the plate.
- Significant dulling: Send to a professional sharpening service that offers ceramic blade service ($12–$20 per blade).
- Best strategy: Ceramic edges last 3–5x longer than steel, so most professionals simply replace the ceramic blade when it finally dulls. The total cost is often lower than repeated diamond sharpening.
For a full material comparison, read our ceramic vs steel clipper blades guide.
DIY Sharpening vs Professional Service vs Blade Replacement: Full Cost Comparison
Which option saves the most money over 12 months? The answer depends on how many blades you maintain and how heavily you use them.
| Factor | DIY Sharpening | Pro Service | New Blade |
|---|---|---|---|
| Cost per blade | $0.50 – $1 (stone wear) | $5 – $15 | $15 – $45 |
| Startup equipment | $25 – $55 | $0 | $0 |
| Turnaround time | 15 – 20 minutes | 3 – 14 days | 1 – 5 days (shipping) |
| Edge quality | Good (70 – 85% of factory) | Excellent (90 – 95%) | Factory-new (100%) |
| Skill required | Moderate — practice needed | None | None |
| Risk of blade damage | Low – moderate (if technique is wrong) | Very low | None |
| Best for | 5+ blades, frequent touch-ups | Low volume, premium results | End-of-life blades, busy shops |
12-Month Cost Example: Groomer with 6 A5 Blades
| Scenario | Annual Cost | Calculation |
|---|---|---|
| DIY sharpening only | $49 – $67 | $40 equipment + $9–$27 stone replacement |
| Pro service (every 4 weeks) | $360 – $540 | 6 blades x $5–$8 x ~12 visits |
| Replace every 4 months | $270 – $810 | 6 blades x $15–$45 x 3 replacements |
| Hybrid (DIY touch-ups + pro service every 3 months) | $145 – $235 | $40 equipment + 4 pro visits x $105–$195 |
When to Stop Sharpening and Buy New Blades
Every blade has a finite number of sharpening cycles. Replace instead of sharpening when:
- Teeth are visibly shorter from repeated material removal (compare against a new blade if unsure)
- Chips or cracks in tooth tips that sharpening cannot repair
- Warped blade that no longer sits flat on the stone or lapping surface
- Poor performance after proper sharpening — if a freshly sharpened blade still pulls or overheats, it has reached end-of-life
- 4+ sharpening cycles completed — beyond this point, the blade has lost too much material for reliable cutting
When it is time for new blades, consider SUMTHIN professional hair blades or ceramic blades — our MIM powder metallurgy process (HRC 60–62) produces blades that hold their edge 2–3x longer than standard stamped blades, meaning fewer sharpening sessions over the blade's lifetime. Check our blade size chart to find the right size, and our compatibility table to confirm it fits your clipper.
Maintenance Schedule: Extend Your Blade Life Between Sharpenings
Good daily habits dramatically extend sharpening intervals. Follow this maintenance schedule:
- After every client / every 2–3 dogs: Brush out hair, apply 2–3 drops of blade oil
- End of each day: Full blade wash soak (30 seconds), dry, oil, store in protective case
- Weekly: Inspect blade alignment, check spring tension, clean clipper body
- Monthly: Visual edge inspection under magnification, touch-up with 3000-grit stone if needed (5 strokes)
- Every 4–6 weeks (heavy use) / 3–6 months (light use): Full sharpening session using the step-by-step guide above
For a deeper dive into daily blade care, read our complete blade maintenance guide and our clipper blade oil guide.
Ready for Factory-Sharp Performance?
DIY sharpening extends blade life and saves money — but nothing matches a factory-new edge. SUMTHIN blades are manufactured using MIM powder metallurgy with HRC 60–62 hardness and precision CNC-ground cutting edges that outperform stamped blades from the first cut to the last. Our blades are compatible with all major clipper brands — check compatibility or request a quote for wholesale pricing.
Frequently Asked Questions
How often should I sharpen my clipper blades?
For busy barbers or groomers (5+ clients per day), sharpen every 4–6 weeks. For home users cutting weekly, every 3–6 months is sufficient. Ceramic blades last 3–5x longer between sharpenings than steel. Always test sharpness before your first client of the day — if hair pulls or the blade runs hotter than usual, it is time.
Can I use sandpaper instead of a honing stone?
Yes, in a pinch. Tape 1000-grit wet/dry sandpaper to a perfectly flat surface (a glass plate or granite tile works best) and use the same technique: blade flat, 10–15 forward strokes, light pressure. However, sandpaper wears unevenly and needs frequent replacement. A proper whetstone gives more consistent results and lasts years.
What grit is best for clipper blade sharpening?
A 1000/3000 combination stone handles 90% of clipper blade sharpening needs. Use 1000-grit for the main sharpening pass and 3000-grit for polishing. Only drop to 400-grit for heavily damaged blades with visible nicks or severely rounded teeth.
Will sharpening void my clipper warranty?
Sharpening the blades themselves does not void clipper motor warranties — blades are consumable parts designed to be maintained. However, if you damage the blade mounting mechanism during disassembly or reassembly, that could affect warranty coverage. Always use the correct screwdriver size and handle blades carefully.
How many times can a clipper blade be sharpened before it needs replacing?
Standard stamped steel blades can be sharpened 3–4 times before teeth become too short. MIM powder metallurgy blades (like SUMTHIN A5 blades) tolerate 4–5 sharpening cycles due to higher hardness (HRC 60–62) and more consistent tooth geometry. Ceramic blades are rarely sharpened more than 1–2 times — they last so long between sharpenings that replacement is usually more practical.