
Why Stainless Clipper Blades Rust in Disinfectant: 3,200 ppm Chloride vs 440C | SUMTHIN
Why 440C blades pit in Barbicide: 3,200 ppm chloride vs a chromium-depleted matrix. PREN by grade, the 425-565C temper trap, fix list. Factory data. Get a quote.
Quick answer: Professional clipper blades rust in salon disinfectant because the disinfectant is a chloride solution and the blade is a chromium-depleted martensitic steel. Barbicide concentrate is about 5.12% alkyl dimethyl benzyl ammonium chloride; at the label dilution of 1:16 the working jar holds roughly 3,200 ppm of quaternary ammonium salt. Chloride ions break down the passive chromium-oxide film that makes stainless steel stainless. And 440C — the grade almost every professional blade is made from — locks 4 to 5 percentage points of its chromium into carbides in order to reach HRC 58-62, so the metal that actually faces the liquid behaves much worse than its 17% chromium label suggests. The hardness you specified and the corrosion resistance you expected are competing for the same chromium atoms.
We have manufactured clipper and trimmer blades in Haining, Zhejiang since 2004, in stainless steel and in zirconia ceramic. Corrosion complaints are the single most common warranty claim we see from distributors, and in the overwhelming majority of cases the blade was made to specification. This article explains what is actually happening, and what to specify instead.
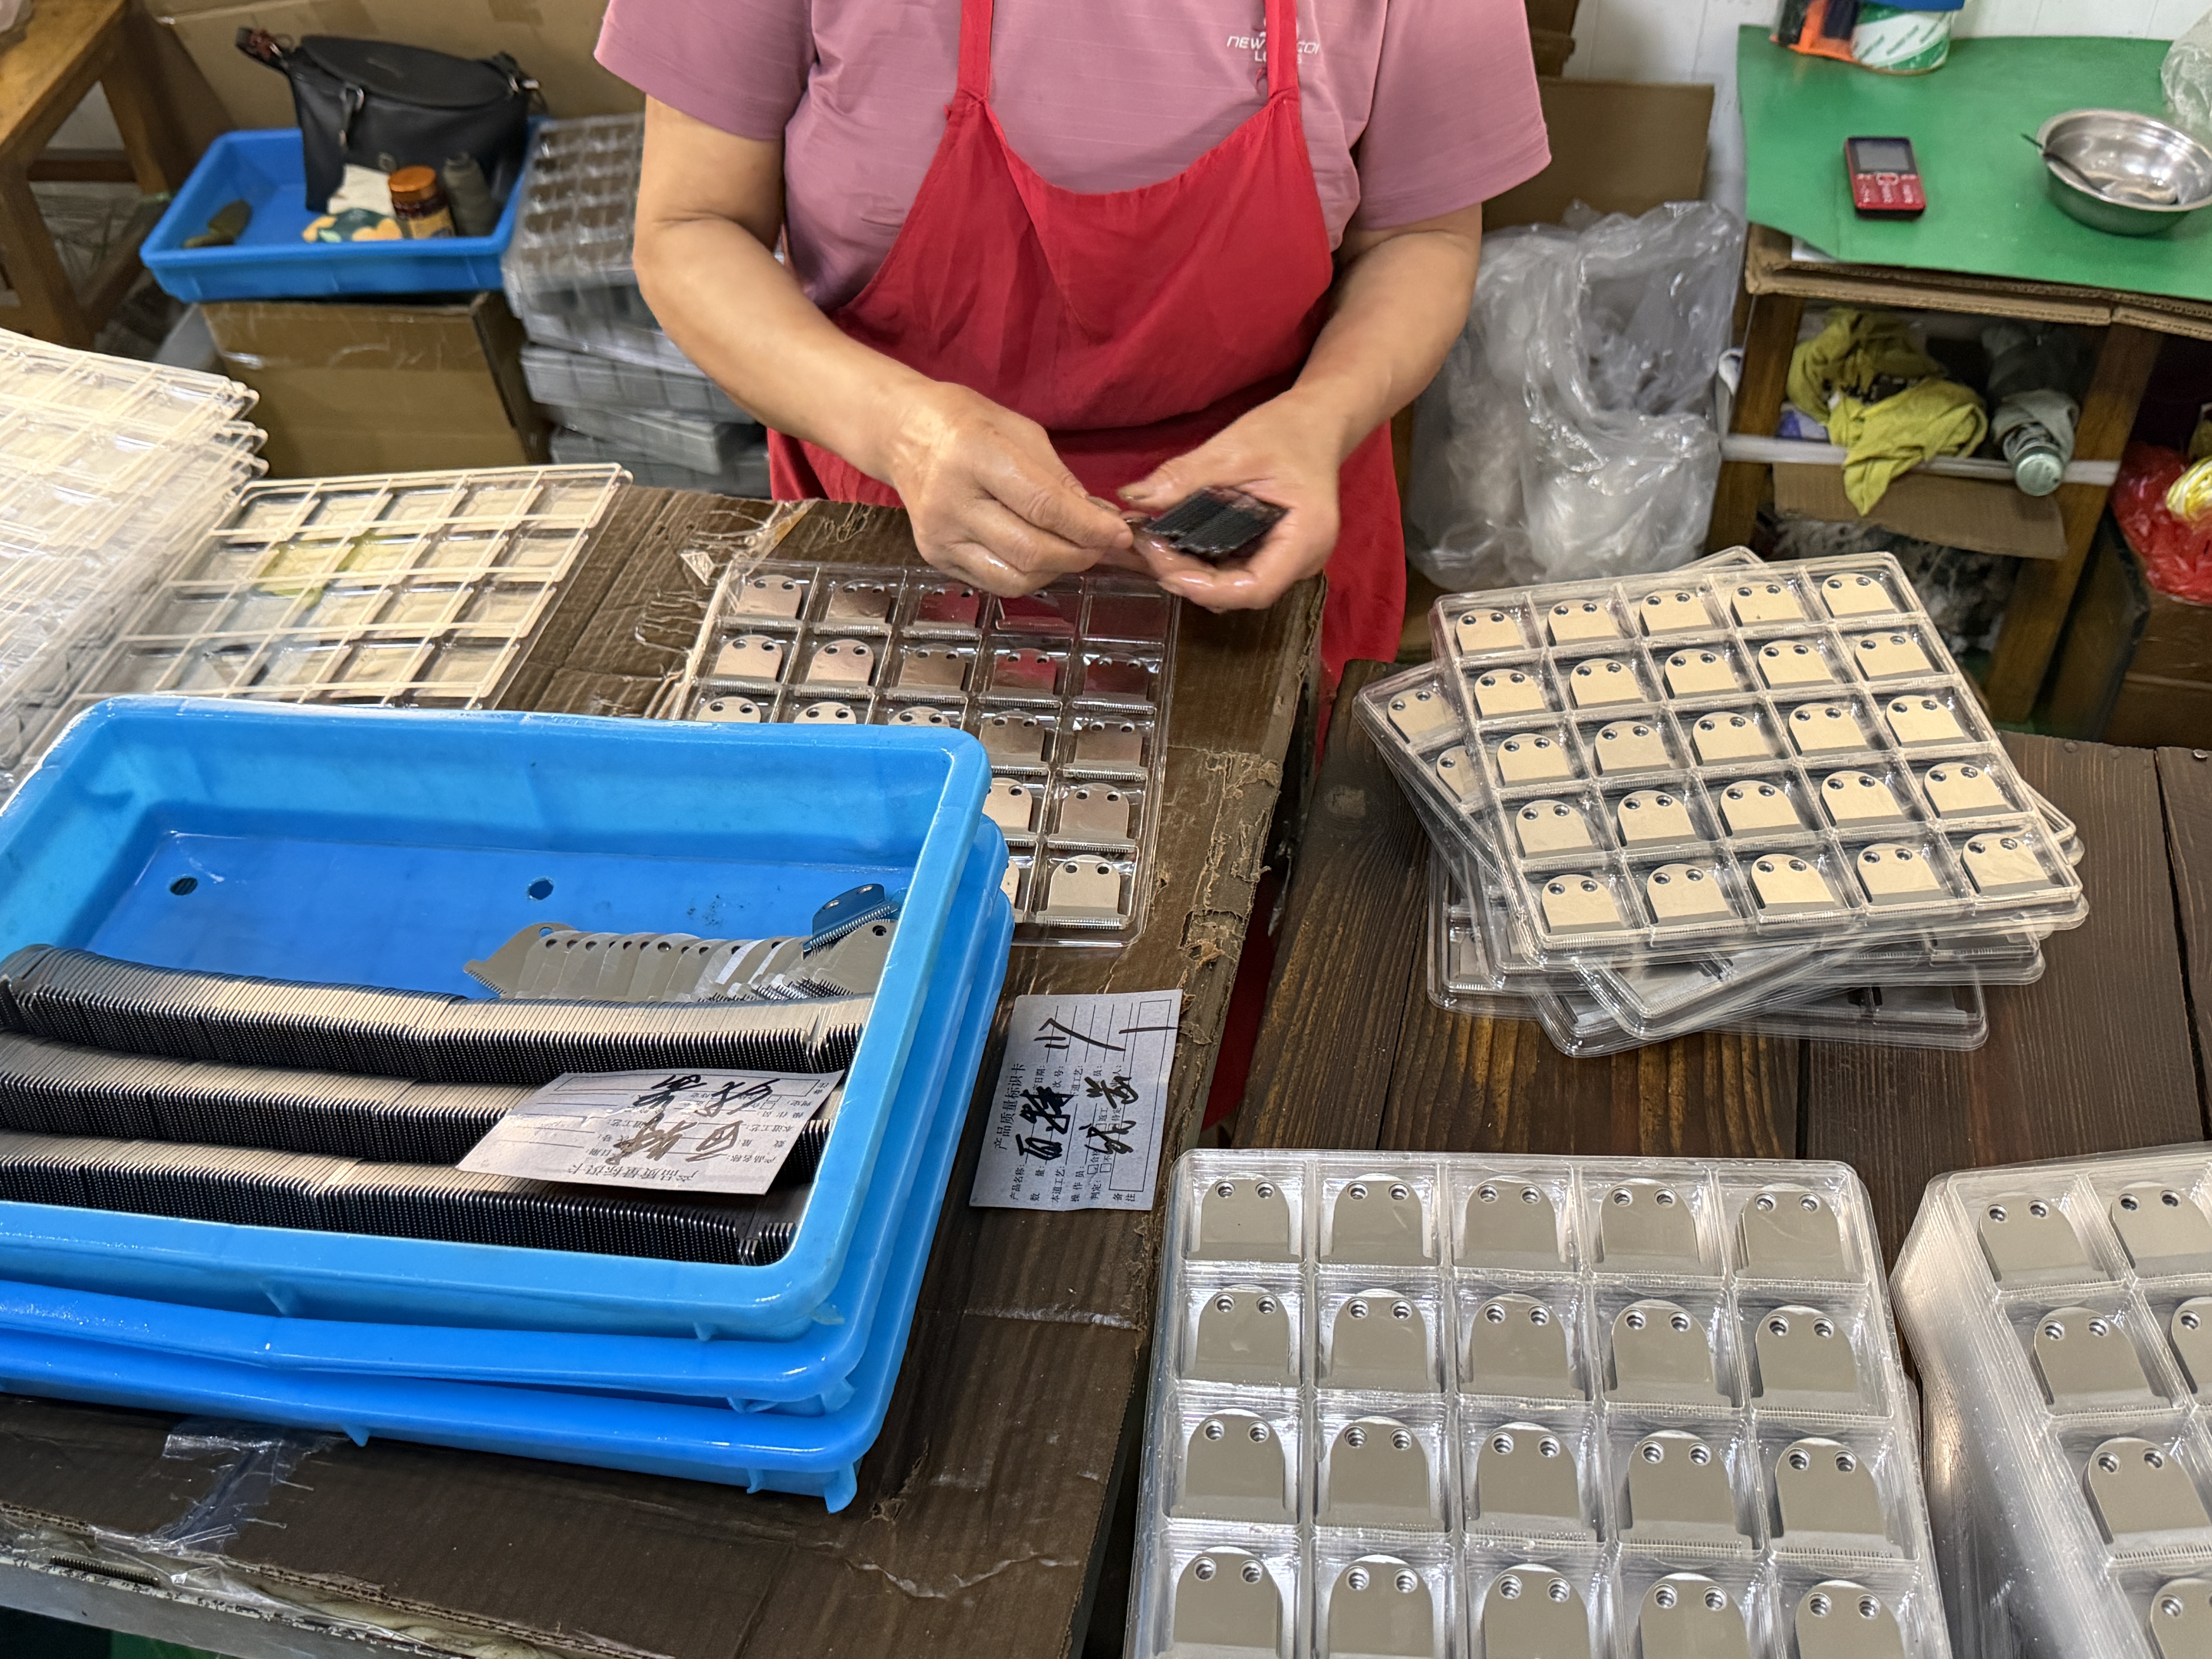
What Is Actually in the Jar
Salon and clinic disinfectants fall into four chemistry families, and three of the four are aggressive toward martensitic stainless steel. The relevant number is not the germicidal claim on the label — it is the halide content.
| Product family | Active chemistry | Typical working strength | Halide load | Risk to steel |
|---|---|---|---|---|
| Quat (Barbicide and equivalents) | Alkyl dimethyl benzyl ammonium chloride, approx. 5.12% in concentrate | 1:16 dilution, approx. 3,200 ppm quat | Moderate chloride | Moderate — safe at 10 min, damaging on long soaks |
| Hypochlorite (household bleach) | Sodium hypochlorite, 5.25-6% in stock bottle | 1:10 dilution, roughly 5,000-6,000 ppm available chlorine | Very high chloride | Severe — do not immerse blades |
| Alcohol spray | Ethanol or isopropanol, 70-80% | Used neat | None | Low — but it strips the oil film |
| Combination clipper spray | Quat or alcohol plus coolant plus light mineral oil | Used neat, wiped off | Low | Low — the carried oil re-protects the surface |
Note the pattern. The two products that damage blades are the two that involve immersion in a chloride solution. The two that do not are the ones applied and wiped. This is not a coincidence, and it is not about how strong the germicide is.
Why Chloride Attacks Stainless Steel: Pitting, Not Rusting
Stainless steel is not chemically inert. It is reactive metal protected by a film of chromium oxide roughly 1-3 nanometres thick that forms spontaneously in air. The film self-repairs as long as chromium is available at the surface and oxygen can reach it. Everything about stainless steel corrosion is a question of whether that film survives.
Chloride ions are small, highly mobile, and they adsorb onto the oxide film and displace oxygen. Where they succeed, a microscopic bare-metal site opens up. What happens next is the part that makes chloride attack so much worse than ordinary rusting:
- The exposed iron dissolves, releasing metal ions into the tiny pit.
- Those ions hydrolyse and the liquid inside the pit turns acidic — pit interiors are routinely measured well below pH 2 even when the bulk solution is neutral.
- Chloride migrates into the pit to balance the charge, so the pit becomes more concentrated in chloride than the jar it came from.
- Acid plus concentrated chloride prevents the oxide film from re-forming, so the pit cannot heal. It is now self-sustaining.
This is why a blade that spent ten minutes in disinfectant three weeks ago can show a rust spot today. The pit was initiated in the jar; it has been quietly deepening ever since, fed by nothing more than humidity. The visible orange stain is the last step, not the first.
Where Blades Corrode First — and It Is Never the Flat
Pitting needs a site where oxygen cannot easily reach to repair the film. Those sites are crevices, and a clipper blade is full of them. In the returned blades we cut up and examine, corrosion initiates in this order:
| Location | Why it starts there | What the user sees first |
|---|---|---|
| Between cutter and comb (the mating faces) | The tightest crevice on the blade, and it traps liquid by capillary action. Oxygen cannot get in; chloride can. | Blade suddenly drags or runs hot |
| Tooth roots (the gullets between teeth) | Hair, skin oil and product residue pack into the root and hold moisture against the steel. | Brown line at the base of the teeth |
| Under the tension spring and around the socket | Spring steel against blade steel is a crevice and often a galvanic couple as well. | Spring stiffens, tension drifts |
| Laser-marked or etched logo areas | Marking disrupts the passive film locally and leaves a heat-affected, chromium-depleted zone. | Rust outlining the brand name |
| Ground flat faces | Last to go. Open, oxygenated, freshly abraded, and re-passivates easily. | Usually never |
If a distributor sends us photographs of rust on the flat faces and nowhere else, that is a different problem — almost always contaminated grinding coolant, skipped passivation, or free iron transferred from tooling. That is a manufacturing defect and we replace those. Rust that starts in the crevices and tooth roots is a chemistry-and-protocol problem, and replacing the blades does not fix it.
The PREN Table, and Why 440C Scores Worse Than Its Number
The standard first-order index for chloride resistance is the Pitting Resistance Equivalent Number:
PREN = %Cr + 3.3 x %Mo + 16 x %N
Run the blade grades through it and the result looks reassuring — until you account for carbon.
| Grade (Chinese equivalent) | Carbon | Chromium | Nominal PREN | Typical HRC | Real chloride behaviour |
|---|---|---|---|---|---|
| 420 / 3Cr13 | 0.15-0.35% | 12-14% | approx. 12-14 | 50-54 | Low PREN, but little carbide — matrix keeps most of its chromium |
| 420J2 / 4Cr13 | 0.36-0.45% | 12-14% | approx. 12-14 | 52-56 | Similar; the consumer-trimmer default |
| 440A / 7Cr17 | 0.60-0.75% | 16-18% | approx. 16-18 | 55-58 | Best real-world corrosion performance of the four |
| 440C / 9Cr18 or 9Cr18Mo | 0.95-1.20% | 16-18% | approx. 17-19 | 58-62 | Highest number, worst behaviour — see below |
PREN is calculated from the bulk analysis on the mill certificate. It assumes the chromium is dissolved in the matrix where it can build a passive film. In 440C it is not.
To reach HRC 58-62, 440C carries around 1.0% carbon. During hardening, most of that carbon combines with chromium to form chromium-rich carbides (M23C6 and M7C3) — hard particles that give the steel its wear resistance and its edge-holding. Those carbides typically occupy on the order of 12-15% of the volume in a hardened 440C blade, and they are far richer in chromium than the surrounding metal. Published material data consistently notes that corrosion resistance in 440C is only average despite its 17% chromium, precisely because carbide precipitation depletes the matrix. The chromium locked in a carbide particle cannot form a passive film; only dissolved chromium can.
The practical consequence: the matrix of a hardened 440C blade behaves closer to a 12-13% chromium steel than a 17% one. And the carbide-matrix boundaries are themselves preferential pit initiation sites. So 440C can have a higher nominal PREN than 440A and still pit sooner in the same jar.
The Trade-Off Nobody Writes on the Spec Sheet
Buyers routinely send us a specification that says, in effect: 440C, HRC 58-62, must not corrode under daily hospital-grade disinfection. Those clauses are in tension with each other, and it is worth being explicit about why.
Hardness in a martensitic stainless comes from carbon. Corrosion resistance comes from chromium dissolved in the matrix. Carbon consumes chromium. Every point of HRC above roughly 56 is bought with chromium taken out of the passive film. There is no grade in common use for clipper blades that escapes this; it is the basic metallurgy of the family.
That leaves four honest options, and we quote all four:
| Route | What you give up | What you gain | Best for |
|---|---|---|---|
| Stay on 440C, fix the protocol | Nothing, but you depend on end-user behaviour | Best edge life, lowest cost | Barbershops with disciplined rinse-and-oil habits |
| Drop to 440A at HRC 55-58 | Roughly 25-35% shorter interval between sharpenings | Noticeably better pitting resistance | Humid and coastal markets, high-disinfection environments |
| 440C with a barrier coating (DLC, TiN, chrome) | Coating wears through at the cutting edge first, so protection is partial and temporary | Good protection of flats and tooth roots | Premium retail positioning |
| Zirconia ceramic | Higher unit cost, brittle if dropped, cannot be field-sharpened | Chemically immune — no chromium, no passive film, nothing for chloride to attack | Veterinary clinics, grooming salons, anywhere with mandatory immersion protocols |
For customers whose end users are required by regulation to immerse tools, we normally steer them to zirconia ceramic blades and stop arguing about steel grades. A ceramic blade cannot pit because there is no passive film to break down. The full comparison is in our blade materials guide.
The Tempering Window That Decides Whether Your Blade Survives
This is the manufacturing variable that never appears on a purchase order and very often explains why two shipments of nominally identical 440C blades behave completely differently.
After hardening, 440C must be tempered. Published datasheets for the grade are consistent and blunt about one thing: do not temper in the range of roughly 425-565 degrees C (800-1050 degrees F), because tempering in that window drives additional chromium carbide precipitation and measurably lowers both corrosion resistance and impact toughness. Correct practice is a low temper, typically 150-370 degrees C, which preserves hardness and keeps as much chromium as possible in solution.
| Temper range | Resulting hardness | Corrosion resistance | Verdict for blades |
|---|---|---|---|
| 150-370 C (300-700 F) | HRC 58-60 | Best available for the grade | Correct — specify this |
| 425-565 C (800-1050 F) | HRC 54-58 | Markedly reduced | Avoid — worst of both worlds |
| 590-675 C (1100-1250 F) | HRC under 40 | Reduced | Softening only, not a blade condition |
Why does anyone ever land in the bad window? Because it is the cheap way to hit a hardness target. If a heat-treat shop overshoots on austenitizing and comes out too hard or with too much retained austenite, a higher temper pulls the hardness back into the HRC 58-62 band on the certificate. The buyer sees a passing hardness number. Nobody measures corrosion resistance, so nobody sees what it cost.
Our process for professional-grade blades is vacuum hardening at approximately 1010-1065 degrees C, a sub-zero step to convert retained austenite, then a double low temper. We keep the furnace chart for every batch, which is the only document that actually proves the temper window. Ask for it — the request alone tells you a great deal about a supplier. More on how this fits into the full process in how clipper blades are made.
Disinfectant and Blade Material Compatibility
Putting the chemistry and the metallurgy together, here is the matrix we give distributors to put in their user manuals.
| Method | 440C steel | 440A steel | Coated steel | Zirconia ceramic |
|---|---|---|---|---|
| Quat immersion, 10 min, rinsed and dried | Acceptable with discipline | Good | Good | Excellent |
| Quat immersion, left overnight | Fails — expect pitting | Fails | Attacked at coating defects | Excellent |
| Diluted bleach immersion | Severe | Severe | Severe at defects | Excellent |
| Alcohol spray, wiped | Good if re-oiled | Good | Good | Excellent |
| Combination clipper spray | Good — preferred | Good | Good | Good |
| Steam autoclave | Not recommended | Tolerable, expect discolouration | Coating-dependent | See the section below |
Autoclaves and Veterinary Clinics: A Different Failure Mode
Veterinary and some grooming customers autoclave rather than soak, and the failure mode changes completely. A standard veterinary cycle runs 121 degrees C at 15 psi for 13-15 minutes, or 134 degrees C for 3-4 minutes on a flash cycle.
Three things go wrong here, and they are not the same three that go wrong in a jar:
- Crevice corrosion under steam. Wet heat drives moisture into the cutter-comb crevice and into tooth roots. Repeated cycles produce the discolouration and staining familiar to anyone who runs a sterile processing department, concentrated in narrow grooves and crevices.
- Nothing is oiled. Instruments go into the autoclave clean and dry and come out clean and dry. The protective oil film that normally sits on a blade is absent for the whole cycle, and often for hours afterwards in a sterile pouch.
- Ceramic is not automatically safe here either. Zirconia is chemically immune to disinfectants, but 3Y-TZP is subject to low-temperature hydrothermal degradation under repeated exposure to hot water vapour — which is exactly what an autoclave is. This is a known phenomenon in the implant field and is why ISO 13356 includes an accelerated ageing requirement for zirconia.
Our guidance for veterinary buyers: do not autoclave detachable blade sets at all if it can be avoided — disassemble, wash, and use an approved wipe or spray. If clinic policy mandates autoclaving, specify 440A rather than 440C, oil immediately on removal while the blade is still warm, and if you are specifying ceramic blades for that use, write an aged-strength retention criterion into the purchase specification rather than assuming ceramic solves it.
The Protocol That Actually Works
Most corrosion warranty claims disappear when the end user follows five rules. None of them are difficult; all of them are routinely skipped.
- Ten minutes, not ten hours. Manufacturer instructions for quat disinfectants specify a contact time on the order of 10 minutes. That is sufficient for the germicidal claim. Leaving tools in overnight is the single most common cause of the rust we are sent photographs of, and it also dulls edges.
- Rinse in clean water afterwards. This is the step almost everyone skips. Rinsing removes the chloride-bearing residue; without it, the solution simply dries on the blade and concentrates as the water evaporates.
- Dry completely, including the crevices. Blow out the cutter-comb interface and the tooth roots with compressed air or shake and towel thoroughly. Water trapped in a crevice is a corrosion cell with the oxygen supply cut off.
- Re-oil immediately. Disinfectant and alcohol both strip the oil film. A blade is unprotected until it is re-oiled. Our detailed routine is in the blade cleaning and maintenance guide.
- Disassemble before disinfecting where the design allows. Separating cutter from comb eliminates the worst crevice on the blade and lets both faces dry.
If corrosion has already started, the pits will not go away, but light surface oxidation can be removed before it progresses — see how to remove rust from clipper blades. A blade with pits deep enough to be felt with a fingernail at the cutting edge is finished; it will tear hair regardless of sharpening.
What to Specify When You Order
If you are writing a purchase specification for OEM or private-label blades and corrosion matters to your market, these are the clauses that change the outcome. Everything here is something we routinely provide.
| Clause | What to write | Evidence to demand |
|---|---|---|
| Grade | 440A (7Cr17) for high-disinfection markets; 440C (9Cr18Mo) for edge life | Mill certificate per heat |
| Temper | Low temper 150-370 C; explicitly prohibit 425-565 C | Furnace chart per batch — the clause most suppliers hope you skip |
| Passivation | Per ASTM A967, nitric or citric | Process record, plus free-iron test |
| Corrosion test | No red rust after 24-48 h neutral salt spray | ASTM B117 or ISO 9227 report, 3 pieces per lot |
| Marking | Laser marking outside the wet zone, or re-passivate after marking | First-article photo |
| Packaging | VCI paper or film plus desiccant for sea freight | Packing photos before container loading |
| User instructions | Supply the 5-step protocol above in the box | Artwork approval |
That last row is worth more than most of the others. A blade sold with no care instructions will be treated according to whatever habit the salon already has, and if that habit is an overnight soak, no grade choice will save it. If you are selling into the EU, those instructions are also a legal requirement rather than a courtesy — see our guide to GPSR compliance for private label clippers and blades.
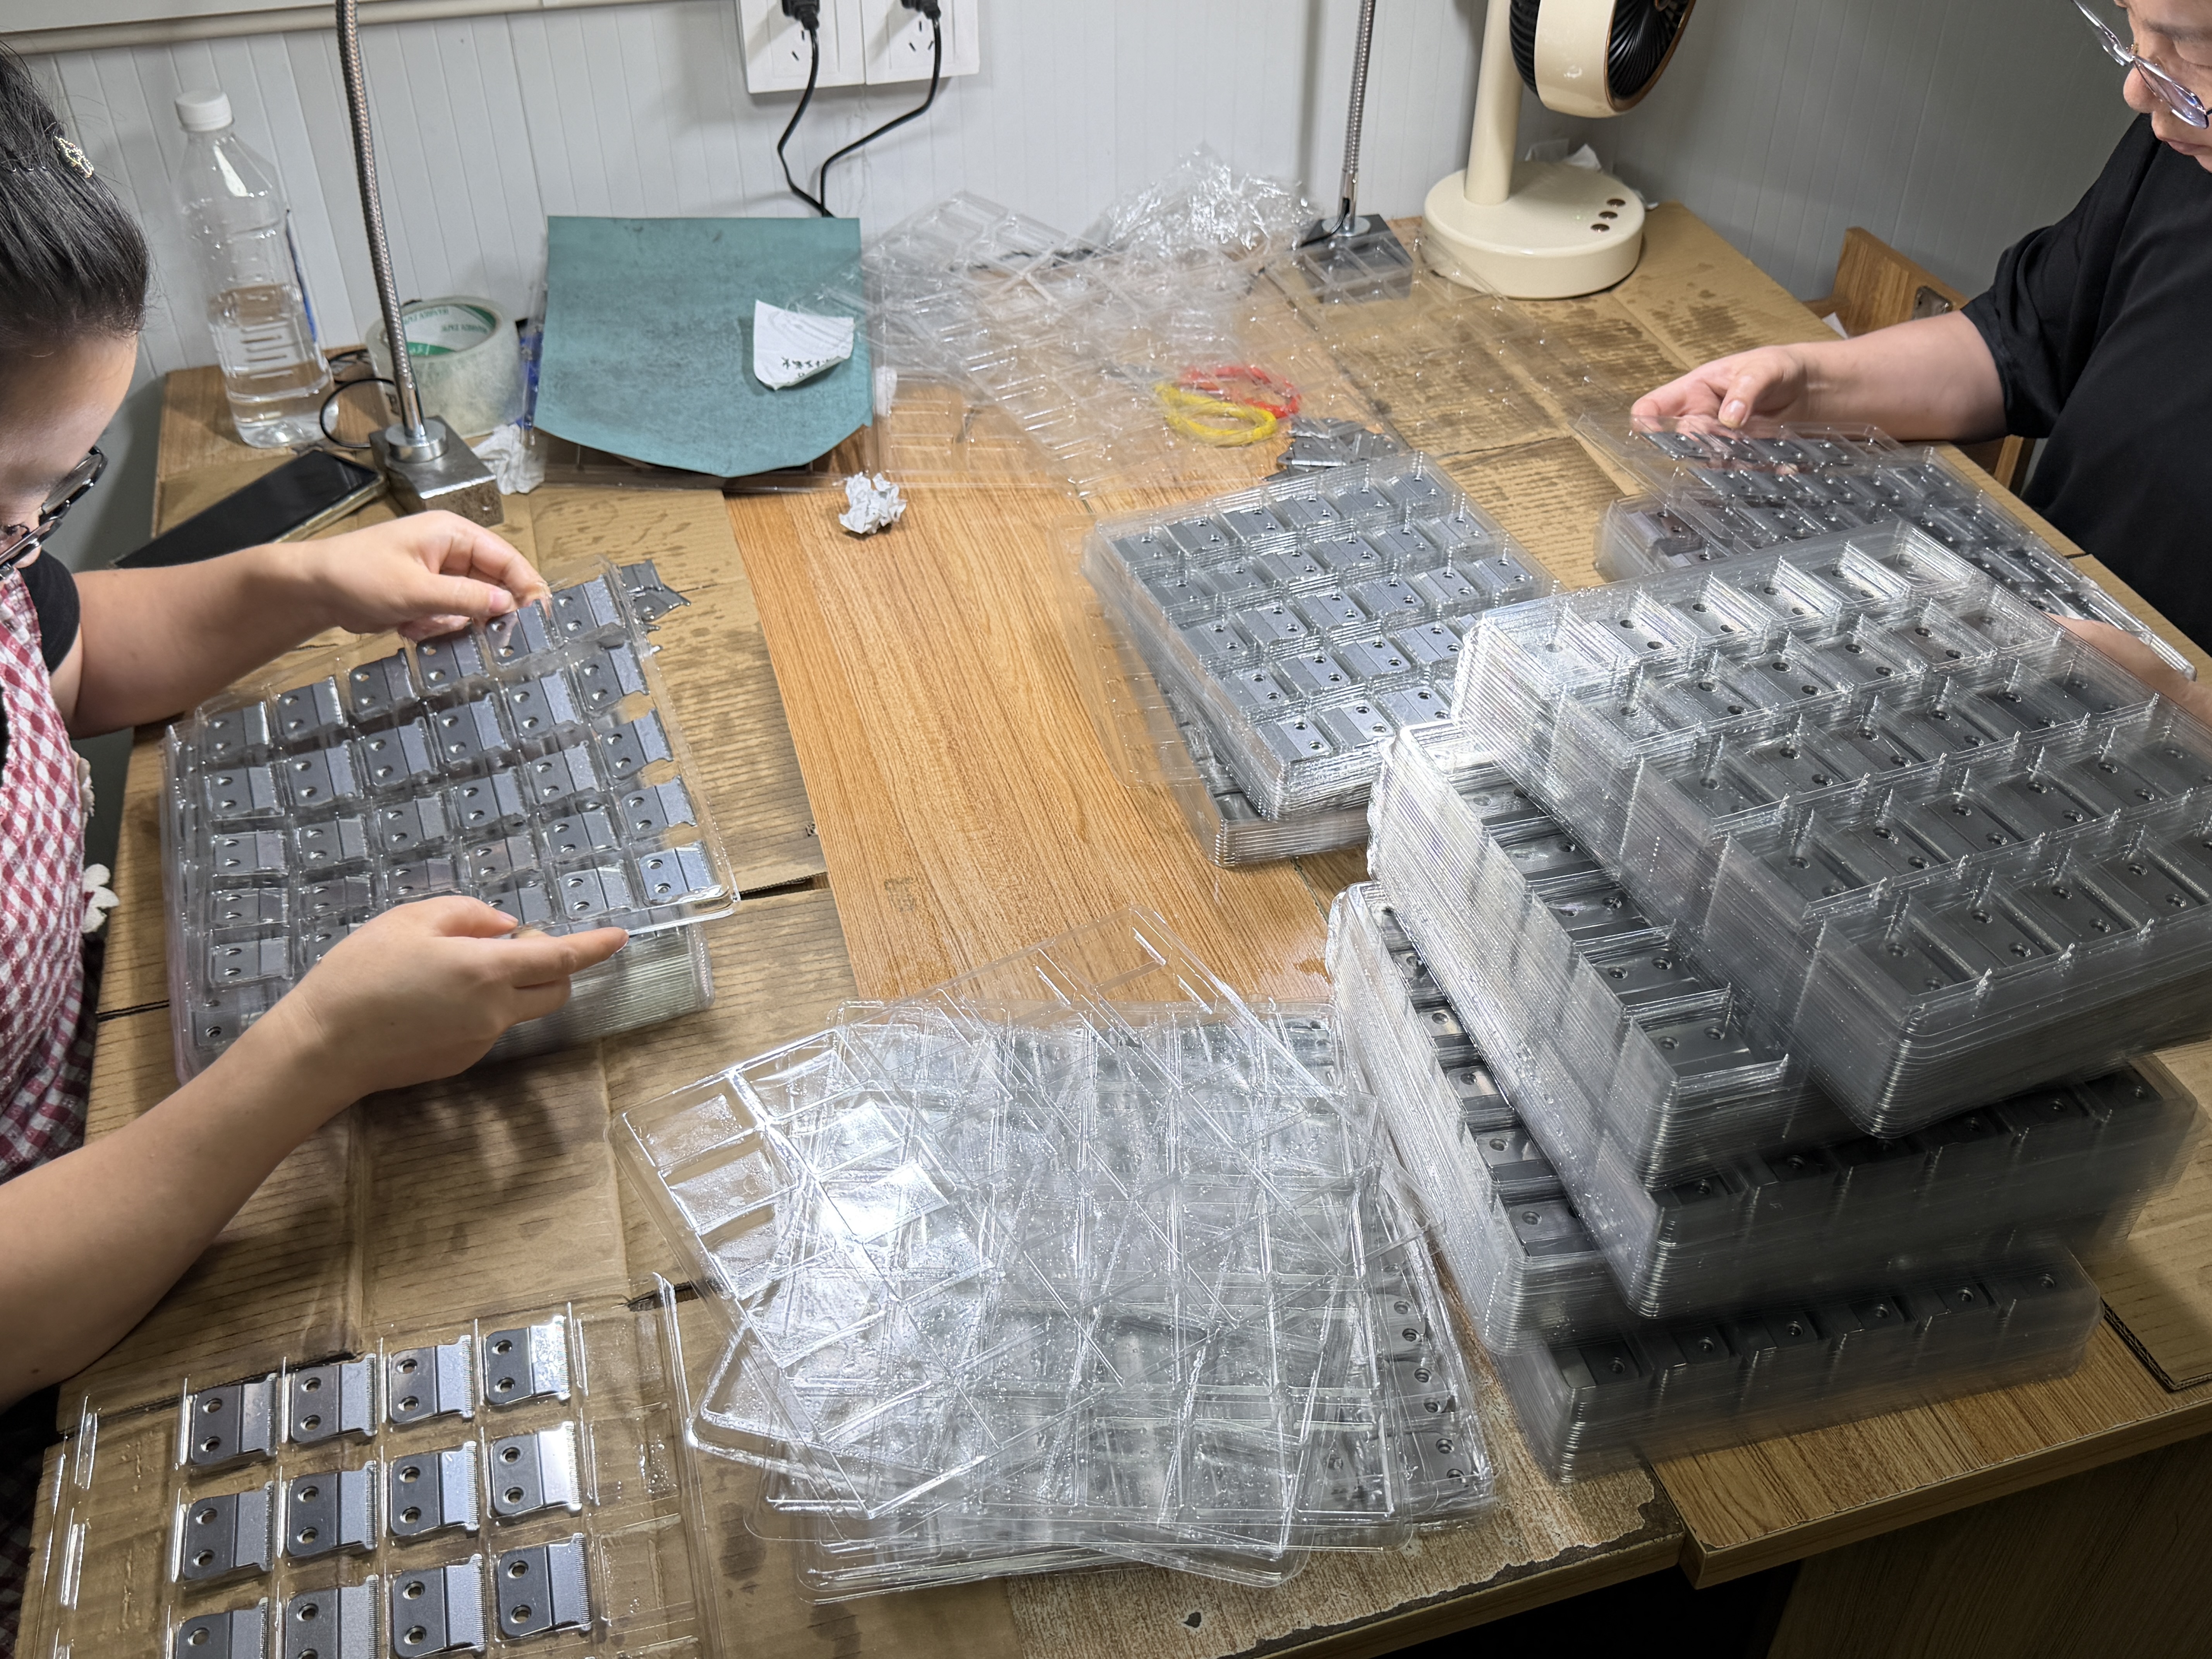
Related Guides
- Clipper Blade Steel Grades Explained — 420, 440A, 440C and ceramic side by side
- Stainless Steel Clipper Blade Manufacturer Guide — MOQ, tooling and FOB pricing
- Blade Cleaning and Disinfection Guide — the end-user protocol in full
- Ceramic Clipper Blade OEM Guide — when zirconia is the right answer
- How to Remove Rust from Clipper Blades — five methods ranked